Training Tips
![]()
Manage Your Shared Files in OneDrive
OneDrive is a useful tool for storing and sharing files online, however the share permissions we set may outlive their appropriate lifespan. It's good practice to occasionally review those shared files and ensure that they're only available to those who require access.
- On your computer, sign in to onedrive.com
- Click on the Shared Files tab.

- Click on the Filter button, then select the Created by me filter. This will restrict
the list to only display files you created and shared.

- To check the share settings of a file, click on the Share icon. This can only be done
on a per-file or per-folder basis, multiple files cannot be selected and modified
at once.

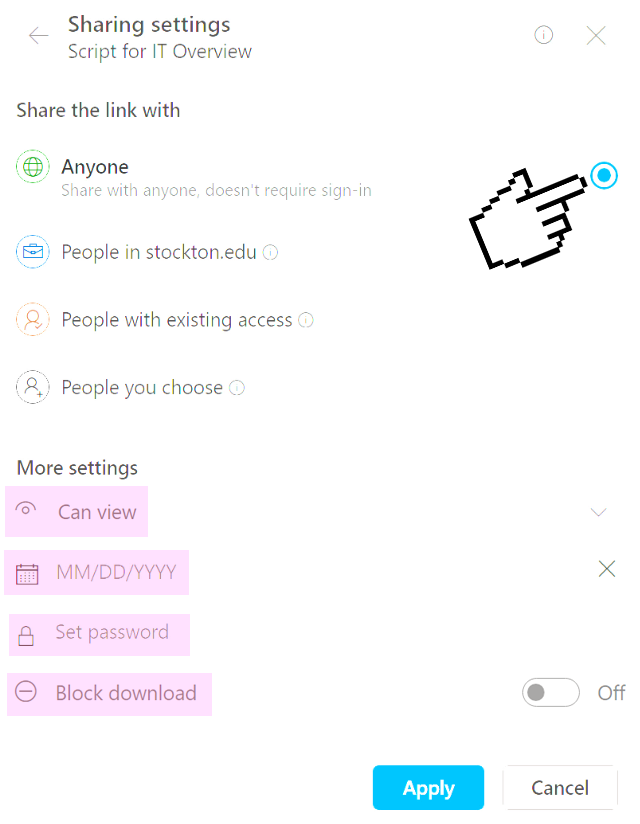
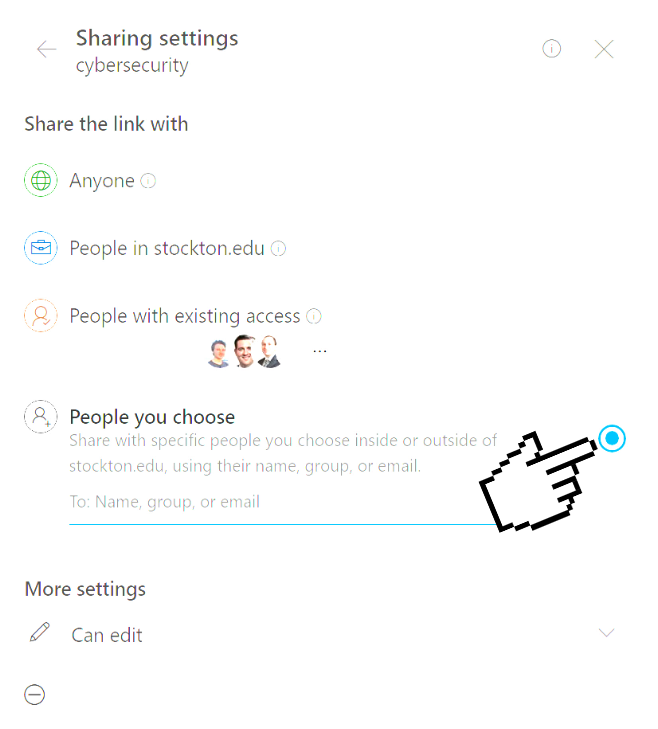
- When possible, share to individuals rather than with a public link. This is a more
secure option which gives access only after authentication.
- If it's necesssary to create or continue using a public link, IT Services recommends
using the following additional security options:
- Change "Can Edit" to "Can View" this prevents unauthorized users from modifying the shared file.
- Set an expiration date for the public link. This will disable the public link after a set date.
- Set a password and distribute this password only to the intended audience of the shared file.
- Enable Block Download, this will prevent unauthorized users from downloading and retaining or modifying the file.