Adding a Proxy to your account
-
Access Proxy Management via goStockton portal
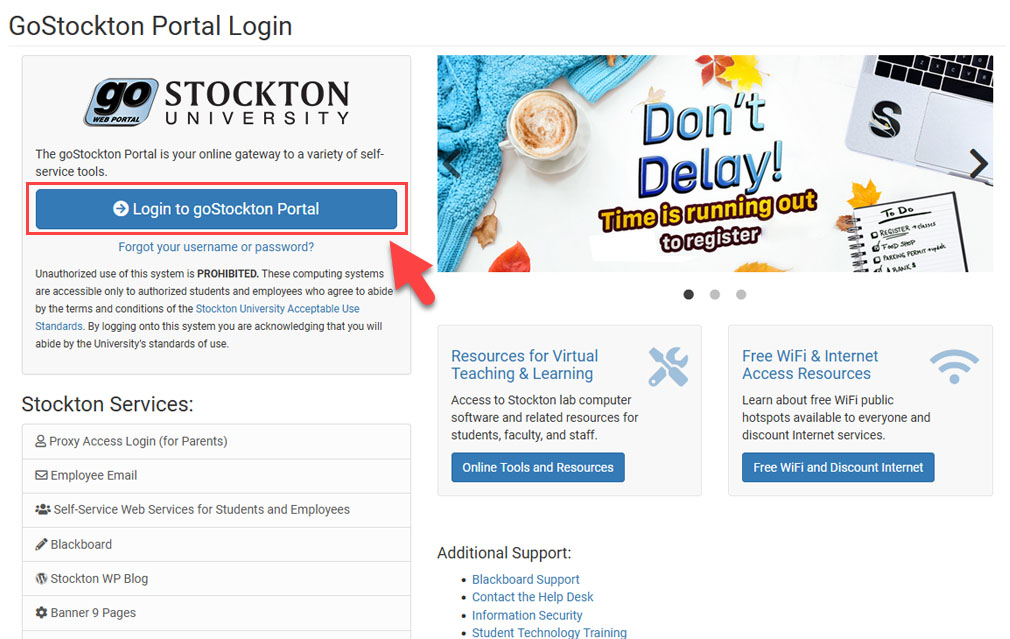
Log into the Stockton Portal to begin the Proxy management process. 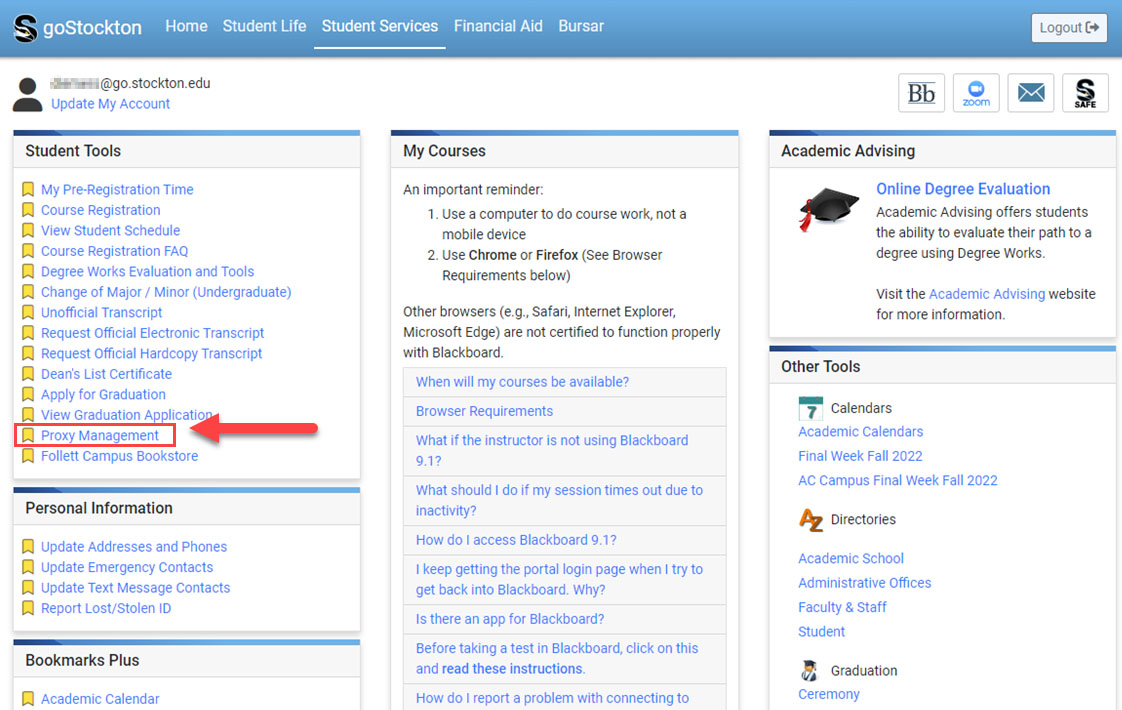
From the Student Services tab of the goStockton portal, click on proxy the management link. -
Add Proxy user information

Click on the Add proxy link. 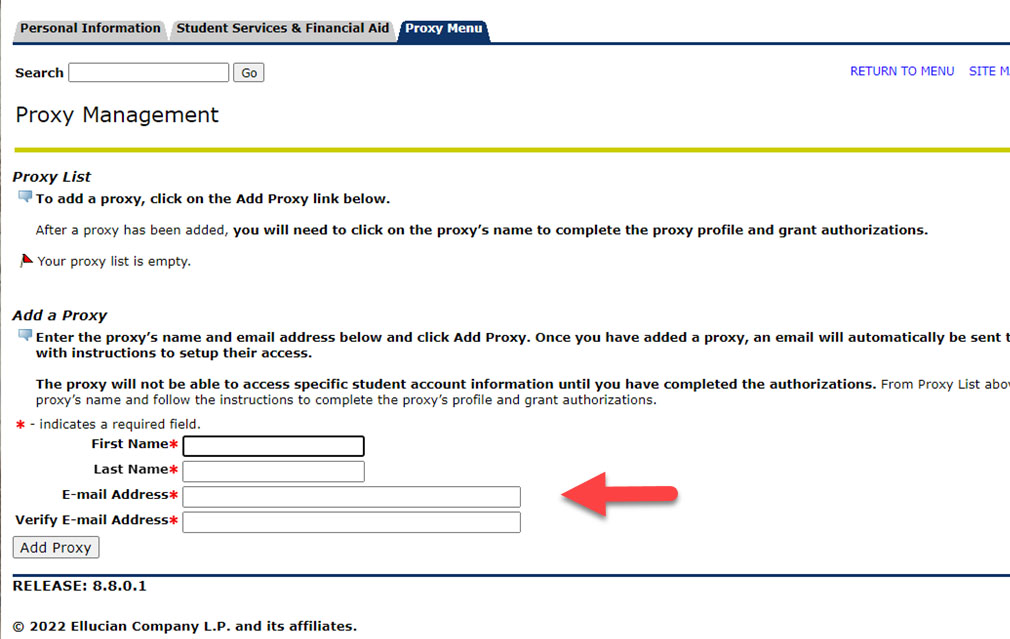
Enter proxy first name, last name, personal email address, then click the Add proxy button to save the information. -
Set Permissions for the proxy
Note: There is no save button in this area, selectons made in the tabbed area are saved automatically.
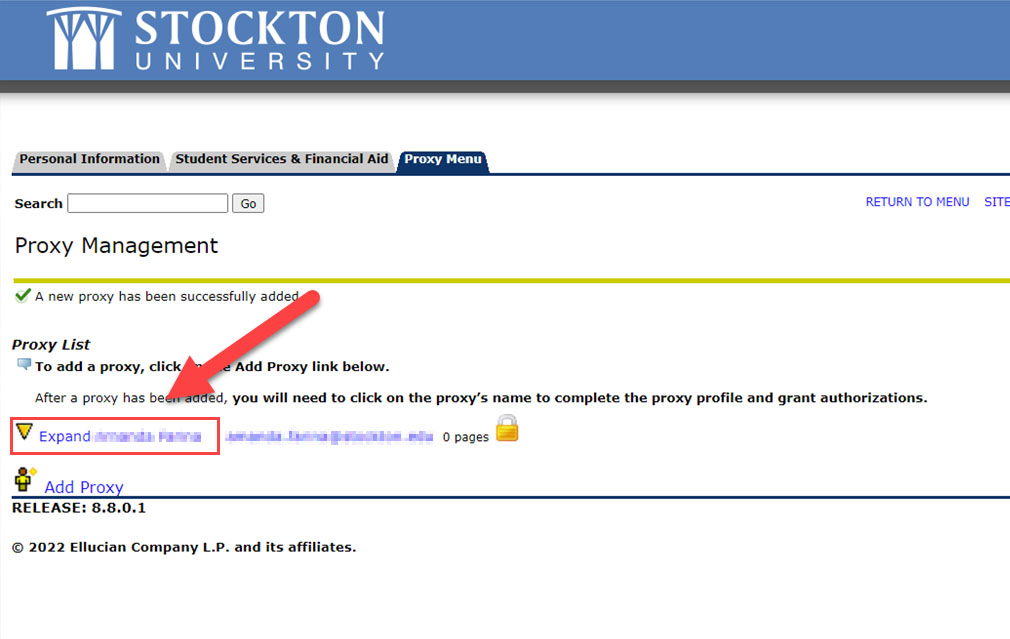
Click expand to reveal additional proxy settings. 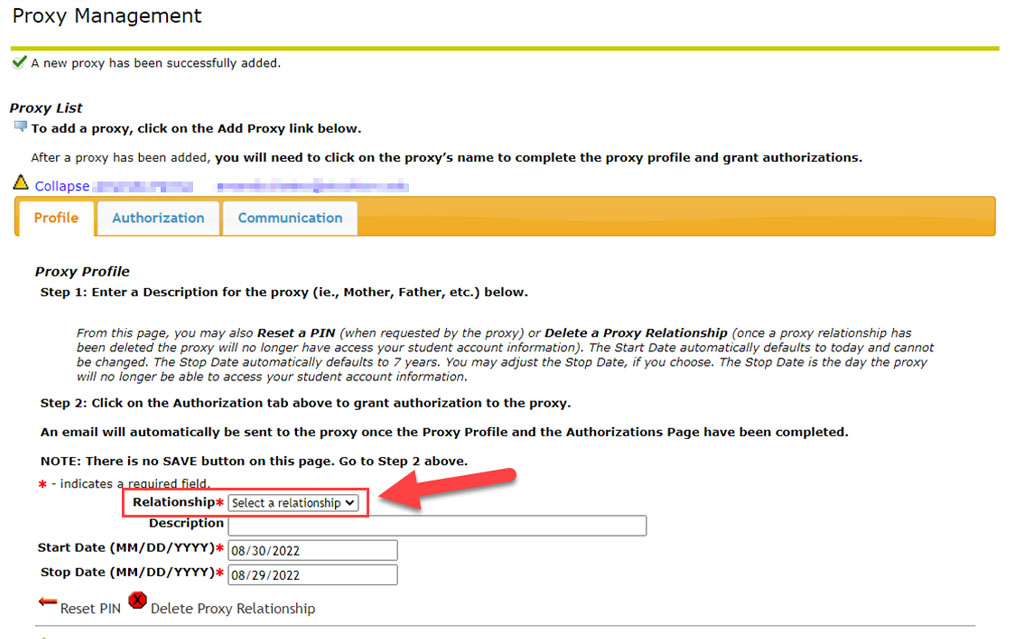
Select a relationship for the proxy.
*A relationship must be selected to complete proxy setup*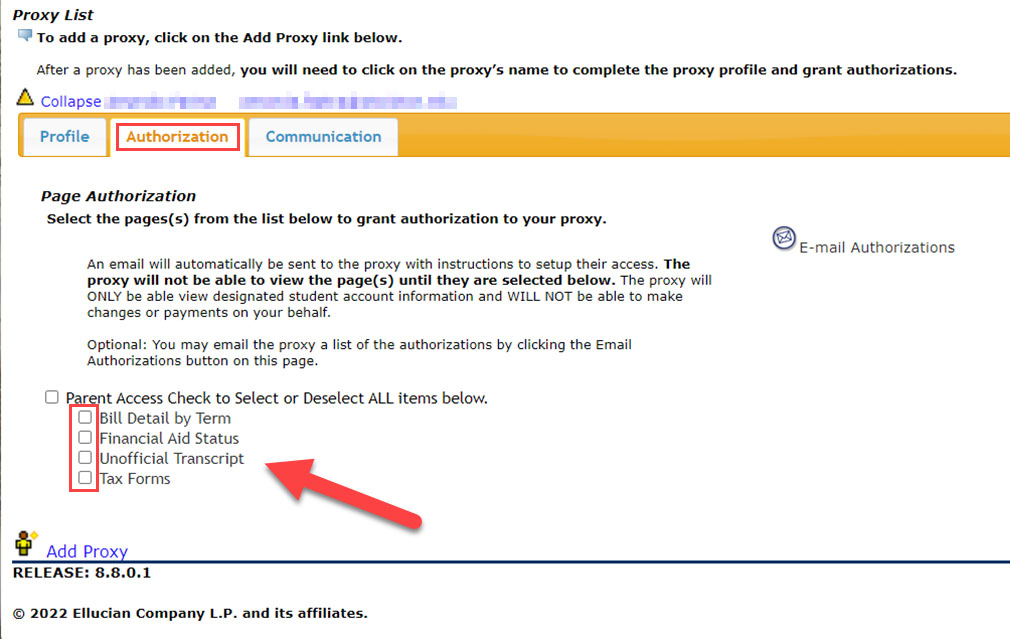
Click the authorizations tab, then check the boxes to grant your proxy access to view all or specific areas of your student record. -
What your proxy receives:
Once a student has designated a person as a proxy, the proxy will receive three emails with these subject lines:
- Stockton - New Proxy Welcome
- Stockton - Proxy Relationship Update
- Stockton - Proxy Setup
Important: The email with this subject contains the PIN number and login link for your proxy.
Instructions for Proxies once they receive their setup email.